Modeling a remote control with Rhino 3D - tutorial p3 |
| |
Please don't translate or copy these tutorials elsewhere. I don't like the tutorials to float around in 10 different versions and places on the net. Feel free to link to this page of course! (see also Terms of Use) |
| Back to Rhinoceros tutorials page |
| |
| Page 1 - Page 2 - Page 3 - Page 4 |
| |
If you discovered this Rhinoceros 3D tutorial page through a direct link or search engine, please note that you're on page 3 of the tutorial! Please complete the previous page first if you haven't done so. |
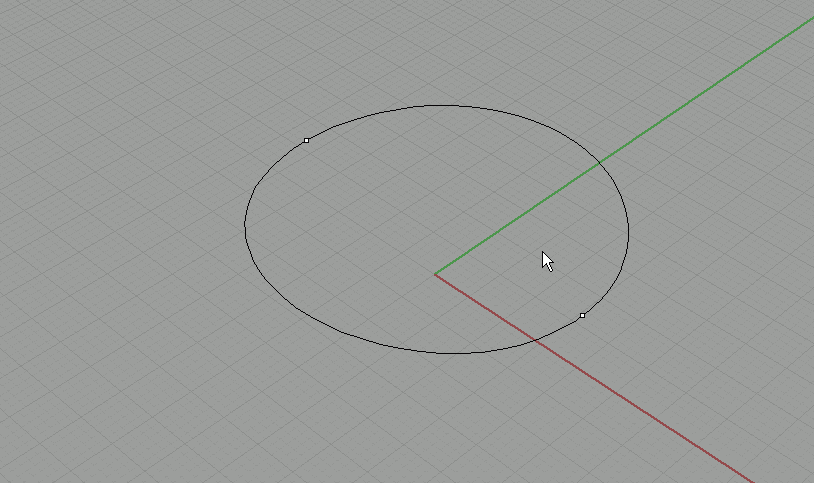
Put two points on the end and mid snap of this projected circle. |
Select the two points and the projected curve, invert the selection and hide all this. Only these objects are visible now: |
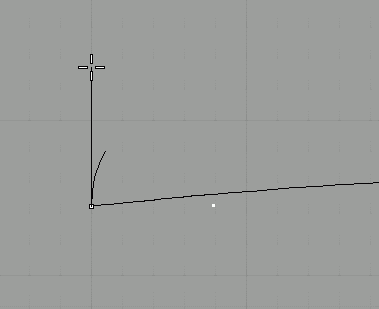
Use 'arc-start-end-direction' again to draw a small curve in the front viewport. Snap to the point as starting point. Mirror this small curve to the other side using grid snap. |
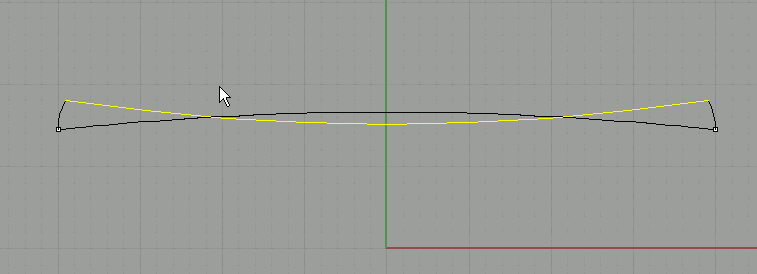
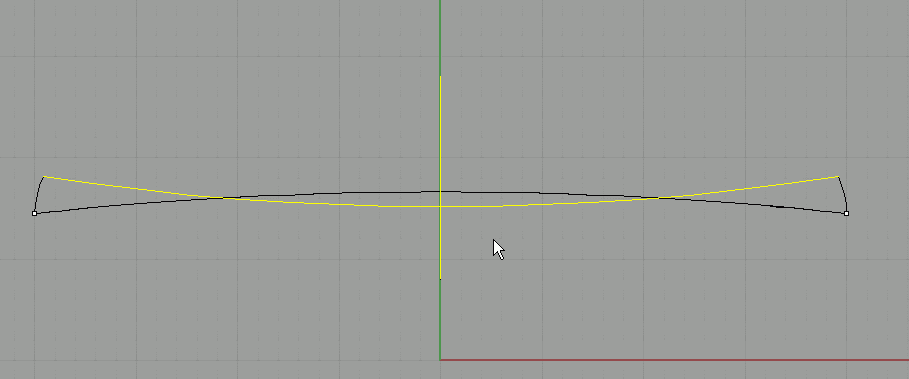
Again use arc-start-end-direction to draw a curve like this:
(use the end points of the small arcs!) |
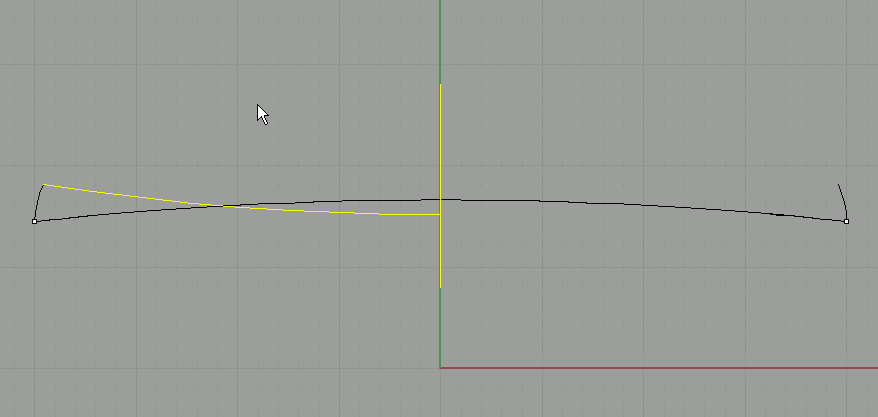
On the grid, draw a straight line: |
Trim away the right side of the big arc. |
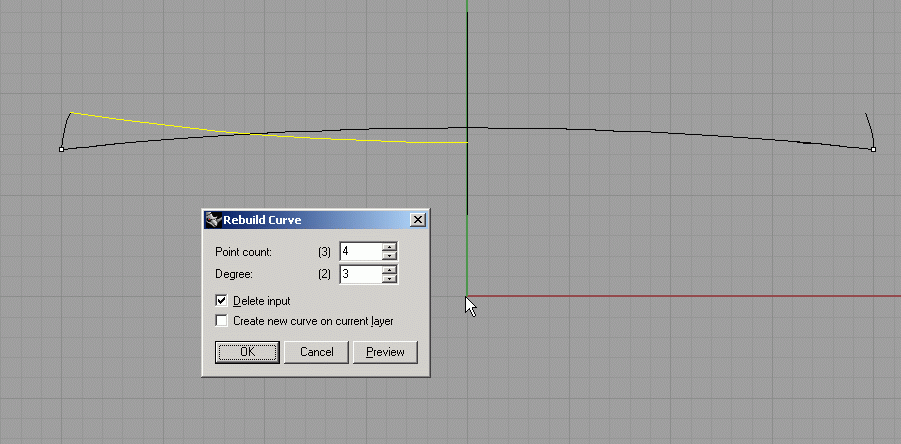
Select the remaining part, and go to 'edit-rebuild'. Use 4 points and degree 3. This will give is more control over the curve. |
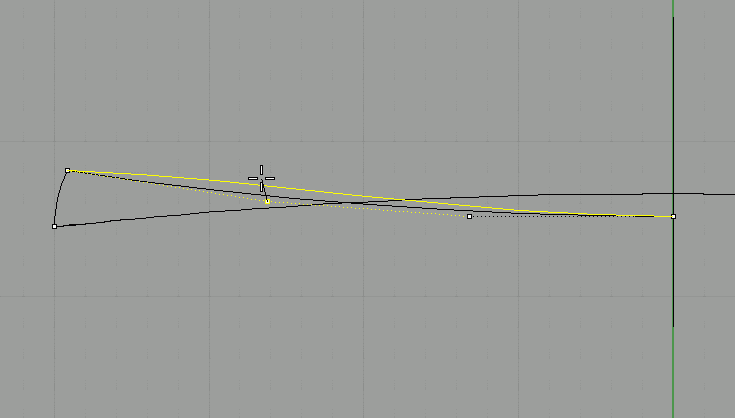
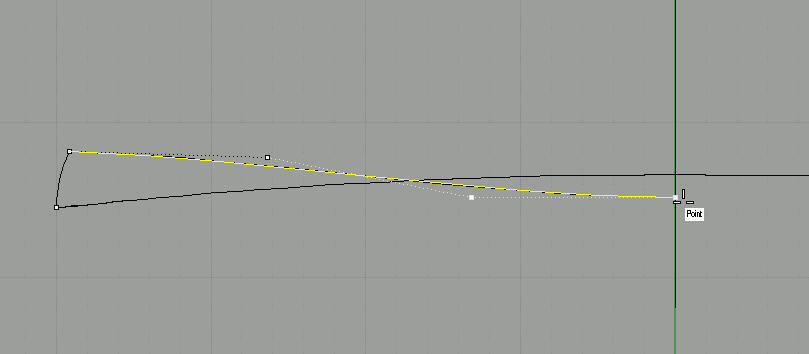
Turn on control points and move the second point up like this: |
Now we want the third point to be level with the last point. To do this, select the third point and go to 'transform-set XYZ coordinates' (in rhino 4 this was calles 'set points'. In the dialog, leave only 'set Z' turned on, and 'align to world'.
Then snap to the last point. Now we are sure the 2 last points are level (and tangent when we would mirror this curve, so it will generate a clean surface when revolved). |
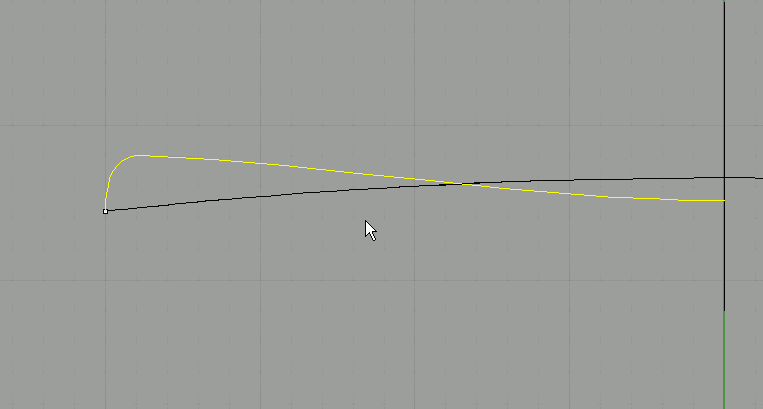
Fillet the corner and join them. |
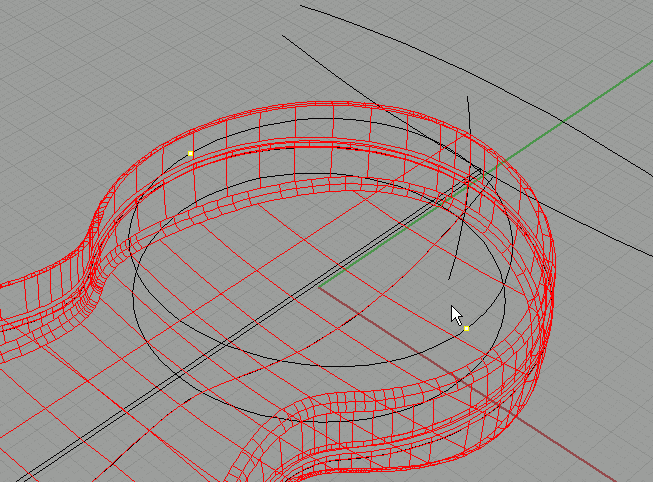
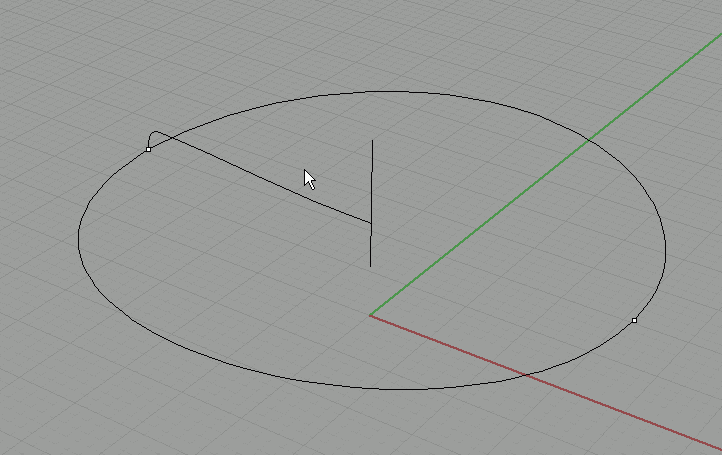
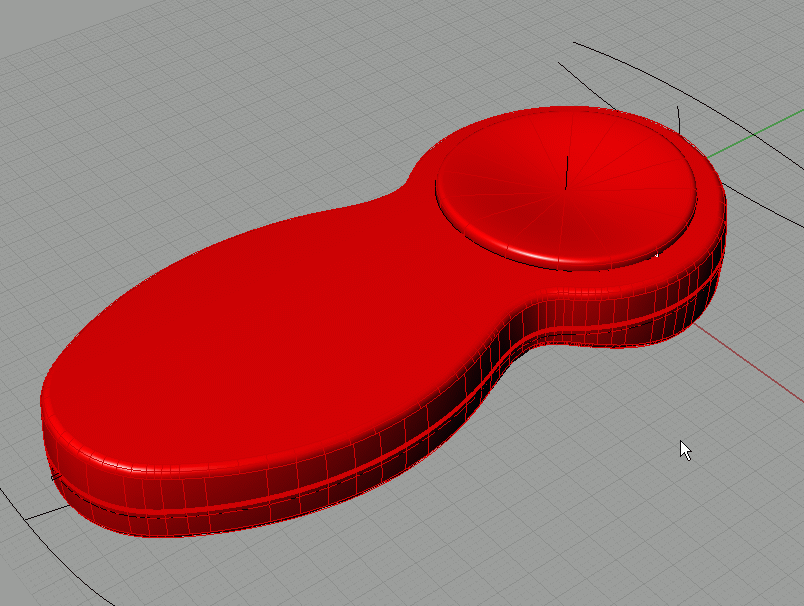
We will now use 'rail revolve' to create the surface. This the same as revolve, but it follows a rail instead of being 100% round. |
The resulting surface looks a bit odd... Because our rail has a variable height, the middle part of the revolved surface will never look good. |
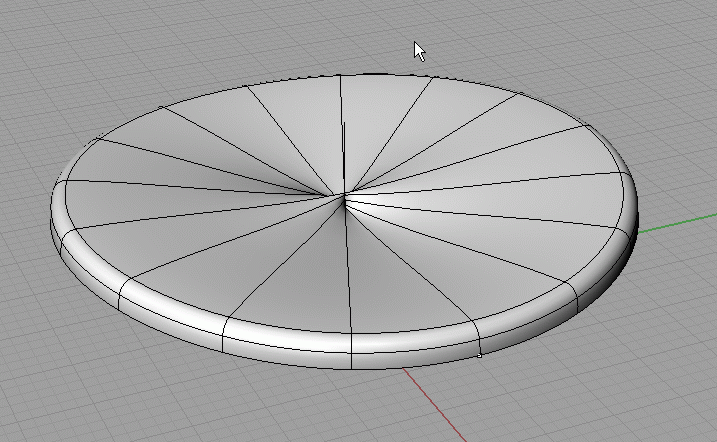
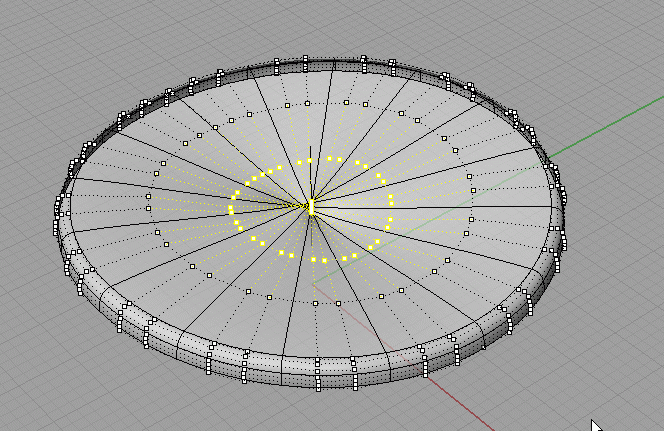
Turn on ghosted mode and control points for the surface. You can see that there is something wrong in the center points.
We need to make sure that all the selected points fall into the same plane. If that is true, the surface will look good. |
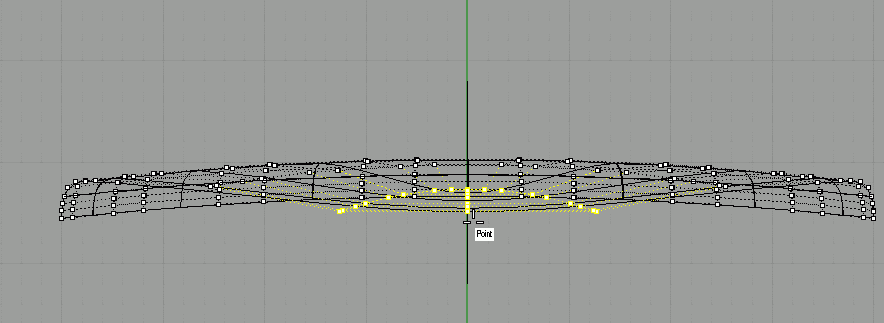
Use set points again, with only Z turned on, and then snap to the bottom point in front view. |
Now all points are in the same plane, and the surface looks good. |
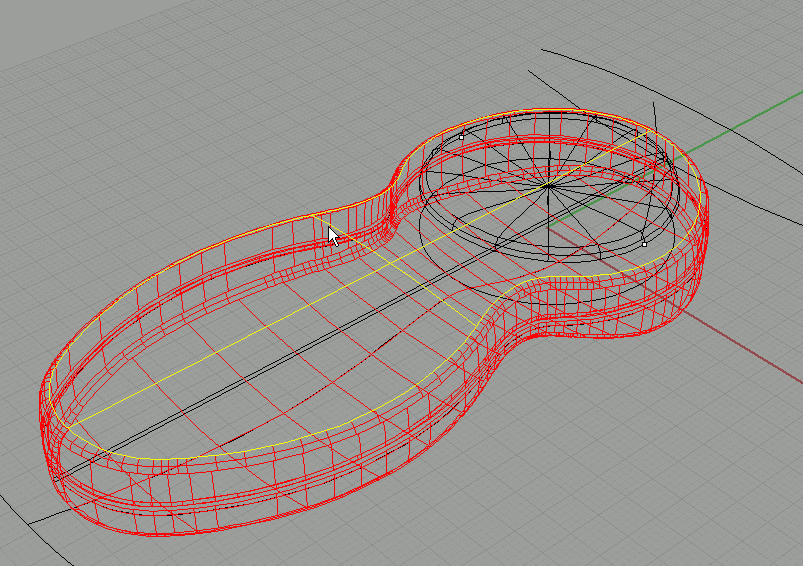
Right click the 'explode' button, to activate the 'extract' function. Extract the top surface from the main body. |
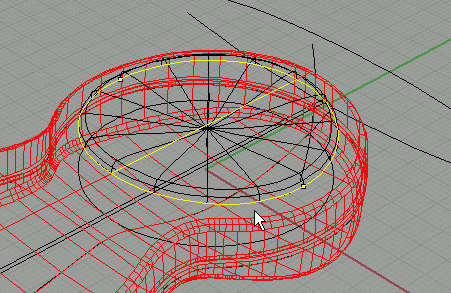
Split this surface with the revolved shape. |
Delete the inner part.
|
Join everything. |
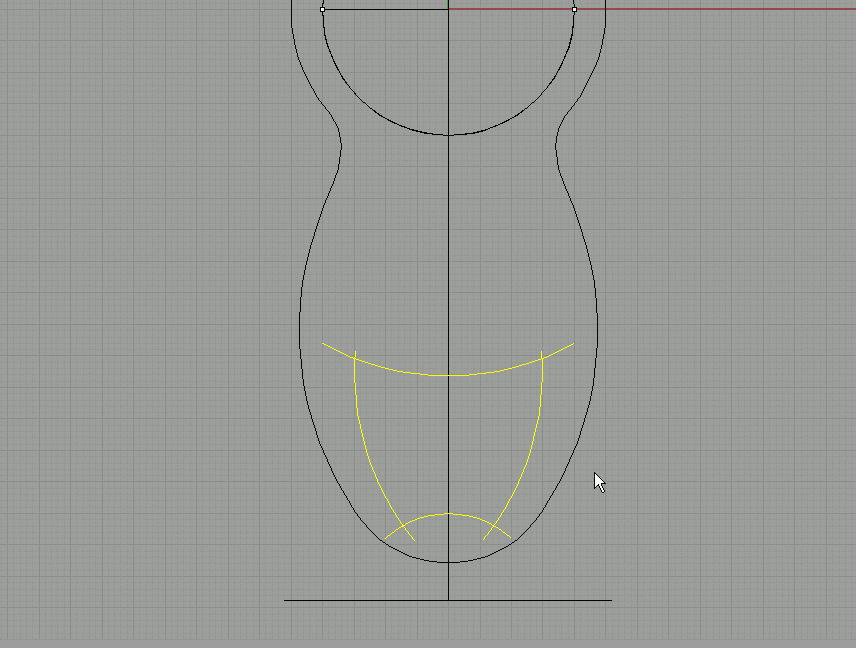
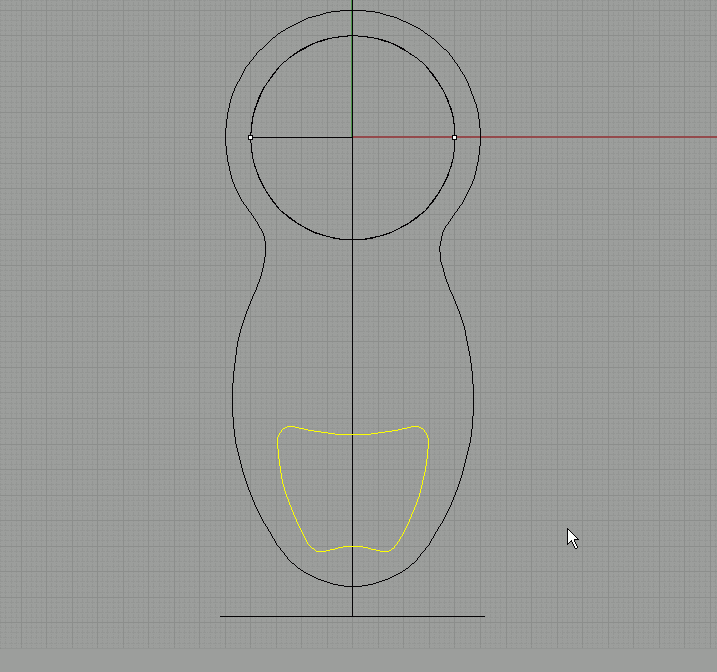
In top view, create these curves (with the tools from earlier in the tutorial, you should know them by now, and make sure you create symmetrical curves). |
Trim them all, and fillet the corners. Join them into 1closed curve.
|
In right view, move it up a little bit. |
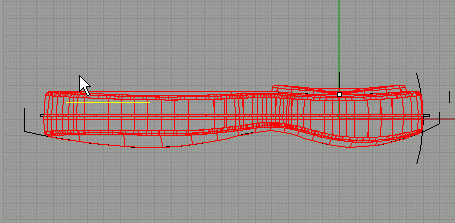
Extrude the curve: |
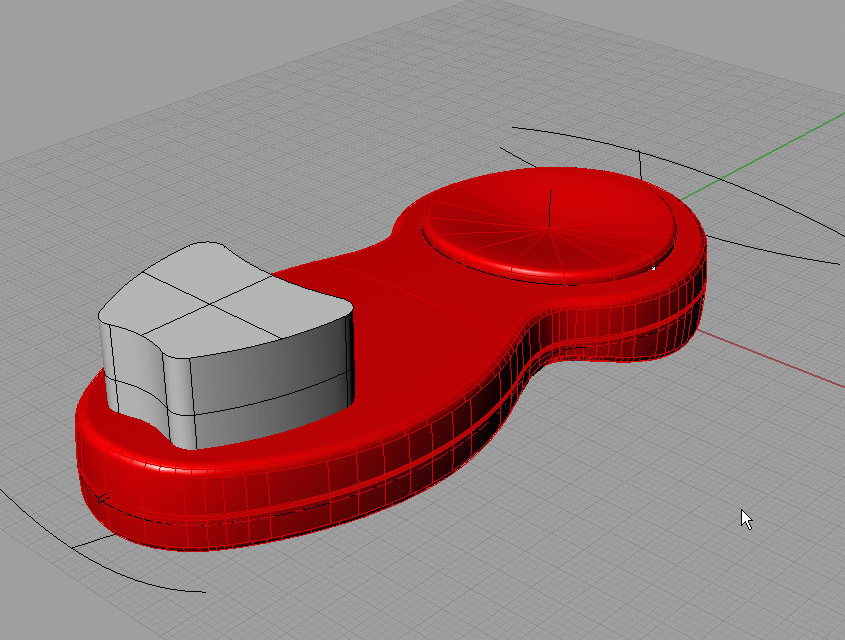
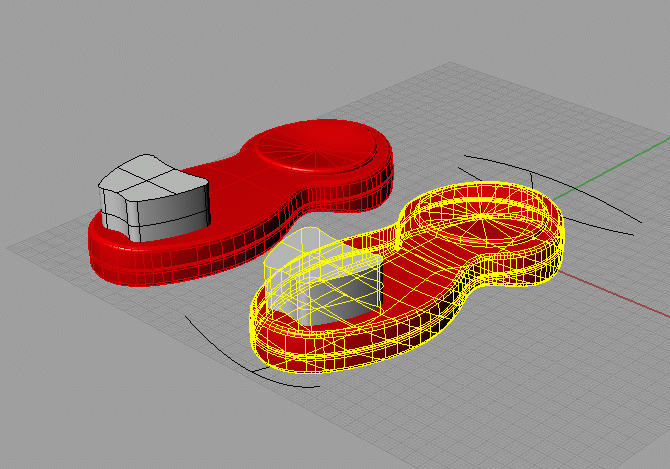
Select the extrusion and the main body, and copy them, using grid snap and ortho. By doing this, we can move them back into place later on. You can even manually enter a distance to copy both solids, so you can easily move them back later in the tutorial. |
|
| Page 1 - Page 2 - Page 3 - Page 4 |
| Back to Rhinoceros tutorials page |