Accurate 2D drawing with Rhino 3D - tutorial p1 |
| |
Please don't translate or copy these tutorials elsewhere. I don't like the tutorials to float around in 10 different versions and places on the net. Feel free to link to this page of course! (see also Terms of Use) |
| Back to Rhinoceros tutorials page |
|
|
| Page 1 - Page 2 - Page 3 |
| |
|
Drawing nice and clean curves is key to everything inside Rhinoceros 3D. It's important that you know how to use the different curve tools. Usually a complex curve can be drawn much better with a combination of smaller curve segments, instead of trying to draw it with the 'control point curve' tool.
This example uses some very simple commands to create a more complex and very accurate and smooth 2D drawing. It is intended for novice Rhinoceros 3D users (level 1 training manual around chapter 5)
Start by studying the given drawing. It is a symmetrical shape, the 3 arms are identical. The distance between the big circles midpoints is 60 units. That's a good starting point: draw a triangle of which all sides are 60 units long.
You can do this in several ways, for example by using the line tool with relative coordinates (length, angle,...). But for basic shapes like this, rhino has some much easier tools. |
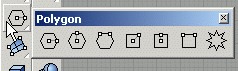
Click on the polygon tool long enough so that the underlying options flow out. Click and drag on the blue top and drag it away from the toolbar. Release it. Now the toolbar stays visible all the time. |
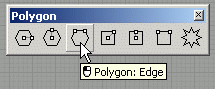
Click on the Polygon:edge button. Since we know the length of the triangles edge, we choose this tool. Try the others as well to see what the difference is. |
In the command line, you will see some options for the polygon command. Click on the 'numsides' option to control the number of sides of our polygon. In this case we want to draw a triangle, so enter 3.
Now you need to place the starting point. Turn on grid snap (if not already on). Click with the cursor in the 0,0,0 point on the grid in the top viewport.
Now it's time to set the length of the polygons edge. The distance must be 60, so type 60 and press enter.
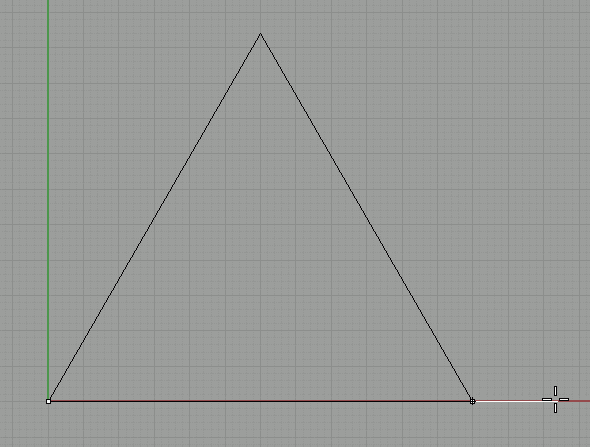
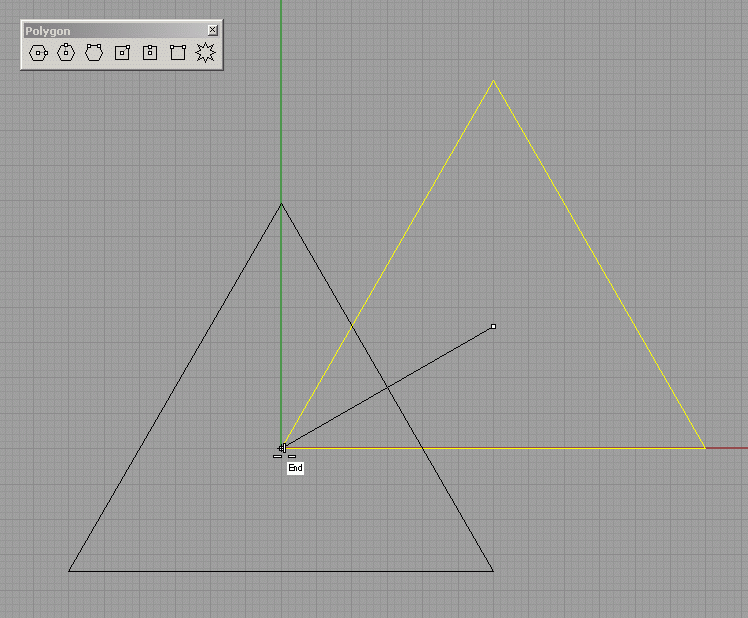
So we told the starting point and the length, now all that is left is the orientation. While pressing 'shift' on the keyboard, hold the mouse around the point as indicated in the image. Pressing shift is the same as turning on 'ortho', so this limits your rotation to every 90°. When placed correctly, click to complete the triangle shape. |
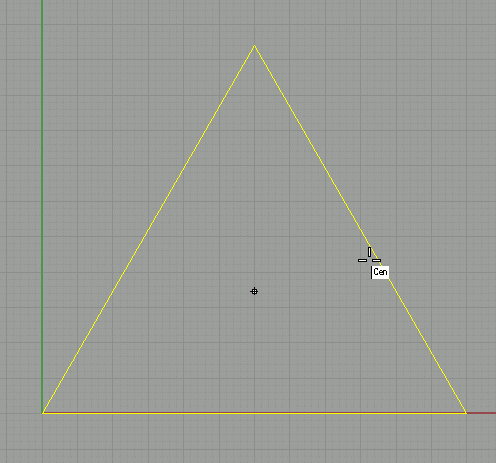
Select the triangle and go to 'transform/move'. Turn on object snaps and select the center snap. Now move over the triangles edge as shown, until the 'Cen' indication comes forward, and the cursor point moves to the center of the triangle. Click. |
Then turn on 'end' object snap too, and move to the 0,0,0 point, where the end point of the triangle is located. Snap to that end point and click.
The triangle is now placed in the very center of our grid. |
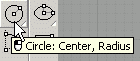
Now we will draw the big outer circles. Click on the circle tool as shown. |
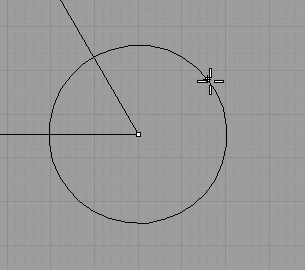
End snap to one of the corners, and then enter 13 as radius. |
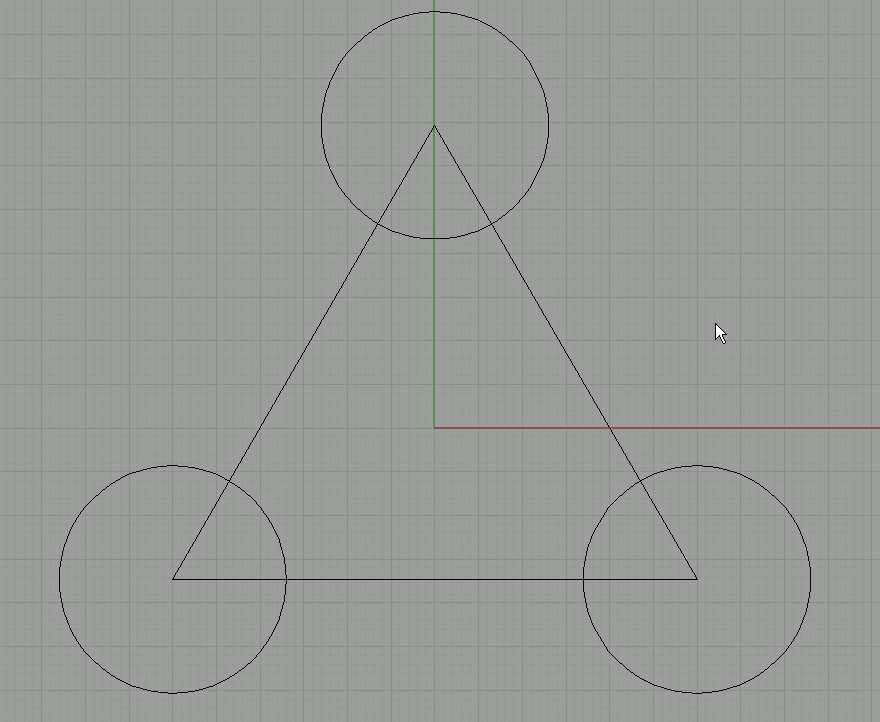
Do the same on the other two corners. |
Now we will draw the straight outer sections of our main shape. As indicated by the dashed line, these straight lines run trough the main center point. So we will draw a curve starting in this point, and ending on the circle in its tangent point. |
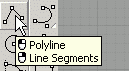
Click the polyline tool. The first point is the 0,0,0 point. You can easily click there if you turn on grid snap.
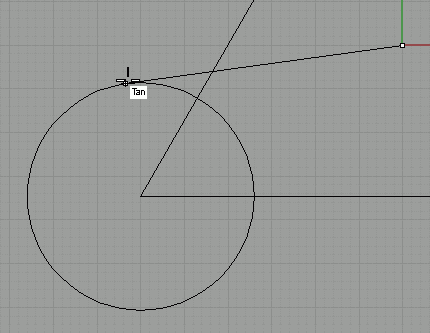
The last point needs to lay on the circle, but to ensure a nice transition later on, we need to locate the tangent point relative to the lines starting point. To do this, turn on object snap and select 'tan' (turn off 'cen' to avoid snapping to the center point).
Then move your mouse over the circle until you see the 'tan' indication. Then click. |
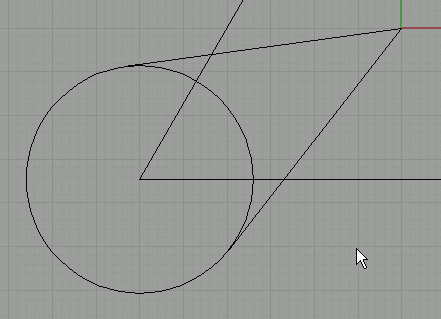
Do the same for the other line. |
| Page 1 - Page 2 - Page 3 |
| Back to Rhinoceros tutorials page |